.svg)
.svg)
Configuring SimplyNode Proxy into Octoparse in a few steps
What is Octoparse?
- Effortless Web Scraping: Create efficient web scrapers without coding, ideal for beginners.
- User-Friendly Modes: Features Wizard Mode and Smart Mode for hassle-free data extraction.
- Comprehensive Documentation: Extensive guides to help users easily navigate the web-scraping process.
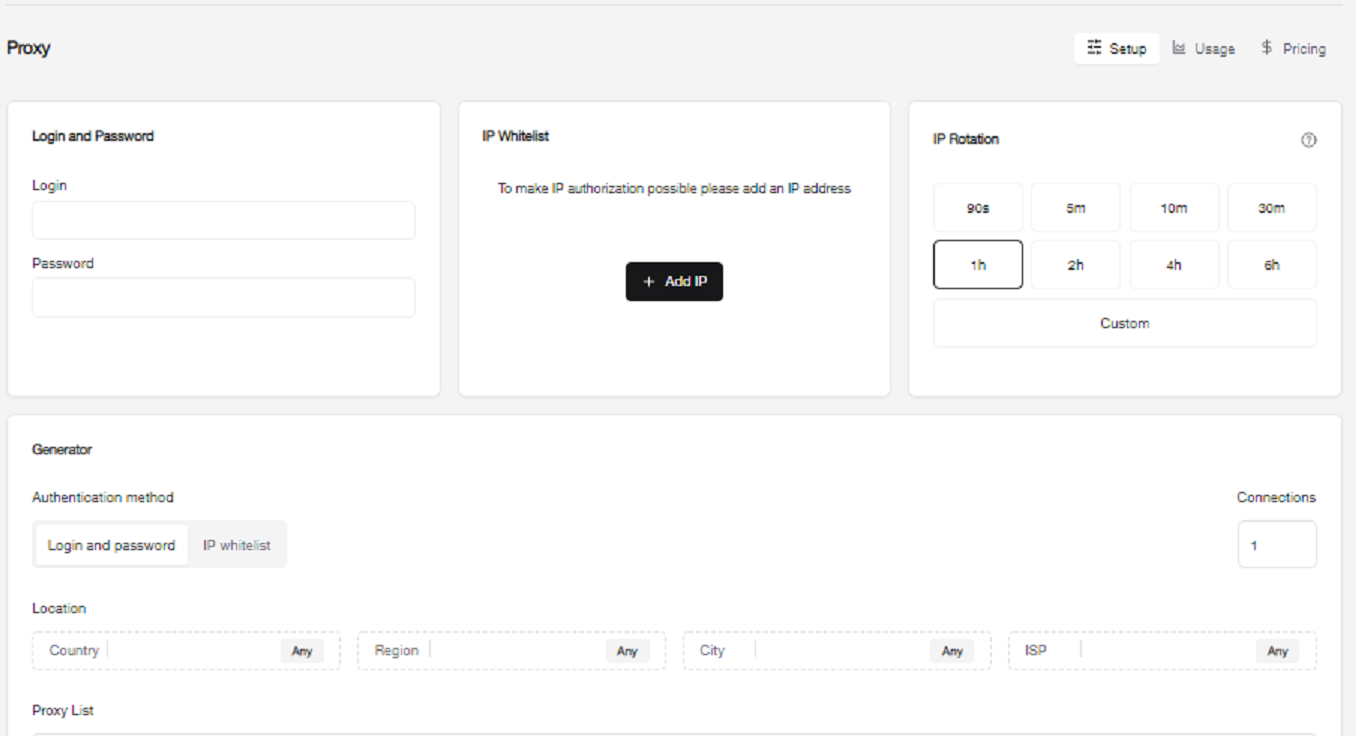
image here
Step-by-step instruction
- Download the Octoparse browser to your device and register by clicking on the "Start Free Trial" button. Enter your email and password to create an account, and confirm it using the code sent to your email.
- Install the Octoparse browser and open the Settings. On the proxy login page, choose to manually configure the proxy by entering the IP address, port, username, and password. Detailed configuration instructions can be found at the end of this article.
- Verify the connection stability by clicking on the "Verify connection" button. Once confirmed, select "Confirm" to integrate SimplyNode data into the Octoparse browser.
- Enter your Octoparse login details to access your account and start using the browser for anonymous and unlimited web scraping.
improve instruction
Step-by-step instruction
- Launch Internet Explorer and click on the Settings icon at the upper right corner. Select Internet options.
- Navigate to the Connection tab and click on LAN Settings.
- In the new window, check the box to activate the proxy server for your local network. Enter the IP address and port of the proxy server.
- Click Advanced to select the proxy server type, then click OK to save the settings.
- Click OK on the LAN settings page to apply the configuration.
- Open a new browser tab to authenticate your proxy settings by entering your SimplyNode account details, including username and password.
Help with SimplyNode proxy configuration
There are various proxy types so when integrating SimplyNode proxies, choose HTTP or SOCKS5 protocol.
This is an example of a proxy string for a browser:
LOGIN:wifi;@proxy.simplynode.io:9000
Step 1: Hostname Configuration
You need to copy the hostname/server address provided by SimplyNode.
Type proxy.simplynode.io into the host field
Step 2: Port number Configuration
SimplyNode offers you up to 1000 ports. The port number varies from 9000 to 18000.
Step 3: Username configuration
Insert the confidential SimplyNode proxy login.
Here you get the proxy username and password from the client portal.
Step 5: Proxy password
Insert the confidential SimplyNode proxy password.
You can find the password in your SimplyNode account. Proxy-type is the type of proxy you are using.
- wifi - rotating residential proxy;
- mobile - mobile residential proxy.
Country is the country whose IP addresses will be used for connection. You can select "Any", in which case any available country will be used, or specify the ISO code of a specific country from SimplyNode's list of available countries: e.g. jp (Japan), fr (France).
Example: wifi;fr;;;
If you have any further questions you can always contact SimplyNode Support Team.

https://www.octoparse.com/

.png)

%20(1).png)


.png)

